
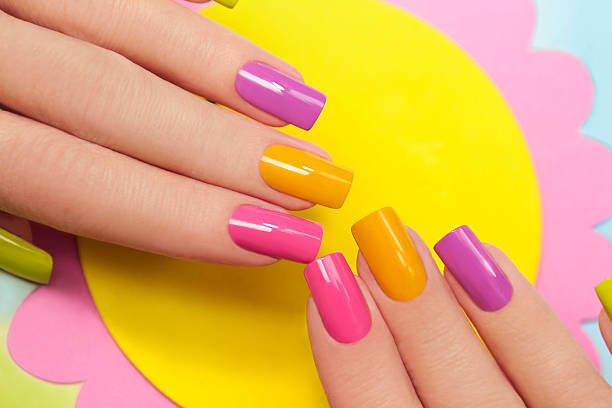
DIY French Manicure: Step-by-Step Tutor
A French manicure is a classic and elegant nail look that
involves painting the nails with a pale pink or nude base color and then adding
a white tip. Here is a step-by-step tutorial for doing a DIY French manicure at
home:
Start by preparing your nails. File and shape your nails to
your desired length and shape, and push back or trim your cuticles.
Next, apply a base coat to your nails. This will help to
protect your nails and provide a smooth surface for the polish to adhere to.
Once the base coat is dry, apply two coats of a pale pink or
nude polish to your nails. Make sure to allow each coat to dry completely
before applying the next.
Next, you will create the white tips. You can use a white
nail polish, or you can use tape or a stencil to create a clean, crisp line.
Take some tape and cut it into small pieces. Apply the tape
to your nails, sticking the ends to the base of your nails and creating a
straight line along the tip.
Apply the white polish over the tape.
Wait for the white polish to dry completely. Then, gently
remove the tape.
Finally, apply a top coat to your nails to seal in the color
and add a glossy finish.
Wait for the top coat to dry and your French manicure is
complete!
Some additional tips:
Make sure to use thin coats of polish to avoid smudging or
creating a thick, uneven layer of color.
To keep your French manicure looking fresh, apply a new top
coat every couple of days.
That's it! With a little practice, you'll be able to create a perfect French manicure at home.






Leave a Reply